

WebUI is a community project, developed and maintained by Jia Xiaoyuan (贾晓源, @Fectivnfy112357), and is now open source on GitHub: mcode-webui/minimax-code. First-party code defaults to the MIT license; third-party components keep their own licenses (see the repo’s license status). Thank you, Jia Xiaoyuan, for contributing to the MiniMax Code community!
WebUI is still evolving. Labels in the UI follow the version installed on your machine. For installation, configuration, and known limits, the GitHub repo README is the source of truth; report bugs and requests in WebUI Issues.
Screenshots on this page show the Chinese UI.
What it’s good for
Install and start
Install a supported Node.js version (22.19+ on 22.x, 24.2+ on 24.x, 25, or 26), then run:http://127.0.0.1:2233/ by default and opens your default browser when launched in an interactive terminal. Keep the process running while you work; press Ctrl+C to stop it. To use another port, set WEBUI_SERVER_PORT.Check the installed command without starting the service:mcode-webui. The CLI installer installs mcode; one doesn’t replace the other. To build from source, see Build from source in the repo README.Uninstall
Stop WebUI with Ctrl+C, then uninstall with the same npm you installed it with:Open the page
If the browser doesn’t open on its own, visit the address printed in the terminal (http://127.0.0.1:2233/ by default). The address carries an access token generated for this launch, which the page uses to connect to the local WebSocket service.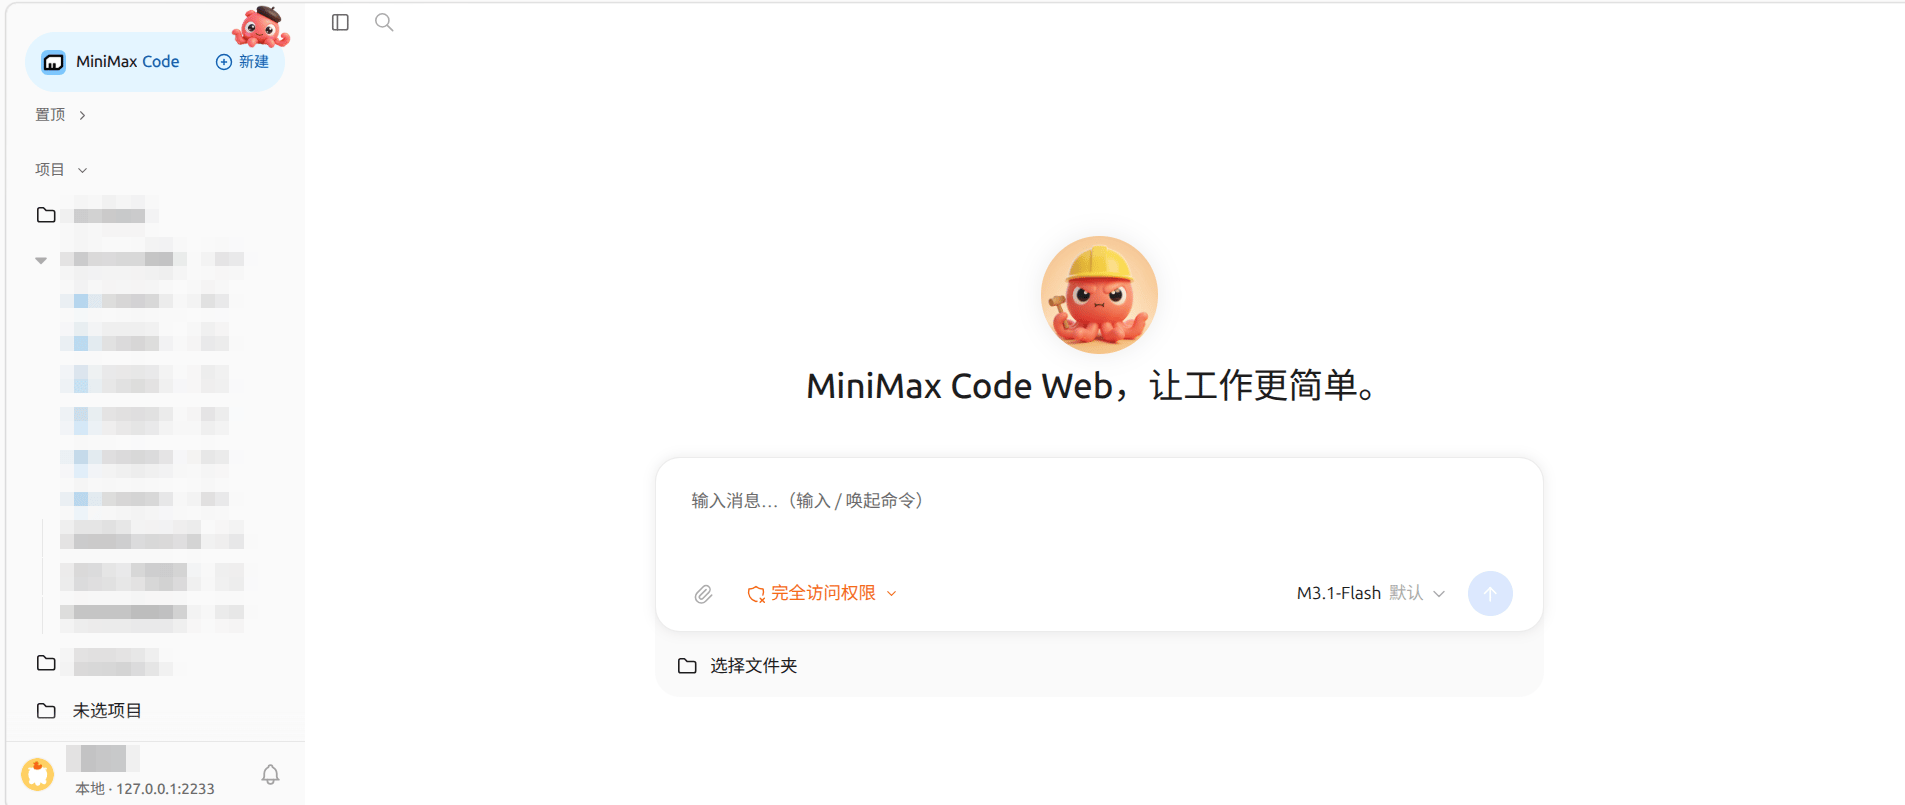
Create your first task
- On the home page, click Select folder and choose the project directory you want to work on. Sessions without a directory are grouped under No project.
- Type a goal in the input box, for example “Get this repo running and fix the failing tests.”
- Click send. The agent reads files and runs commands in that directory. When an action needs permission, a confirmation appears above the input box; click approve.
Core workflows
Work modes
Switch in Settings → General → Mode: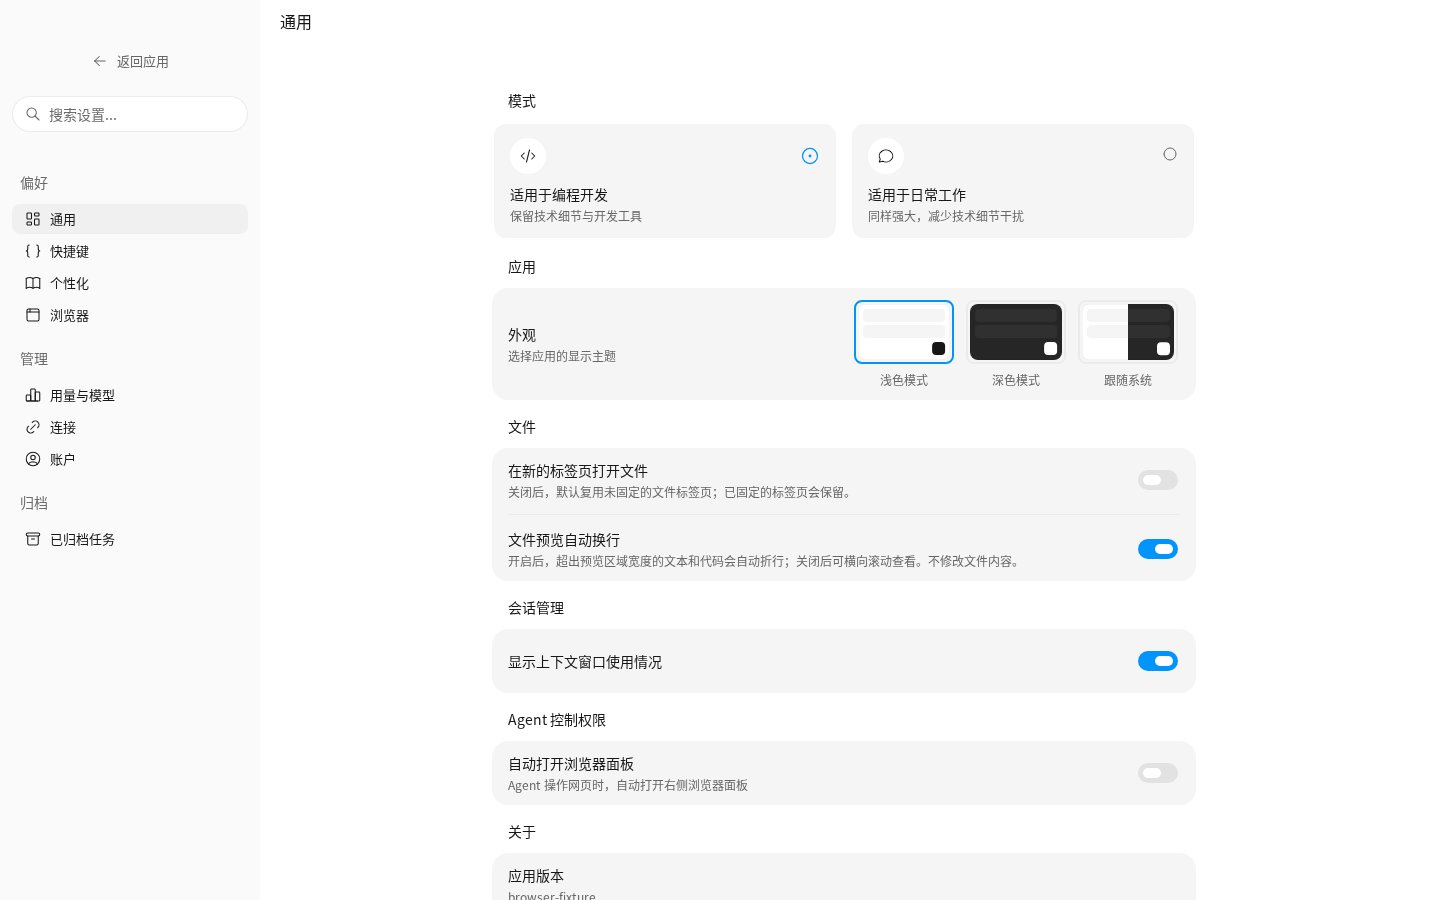
Projects and sessions
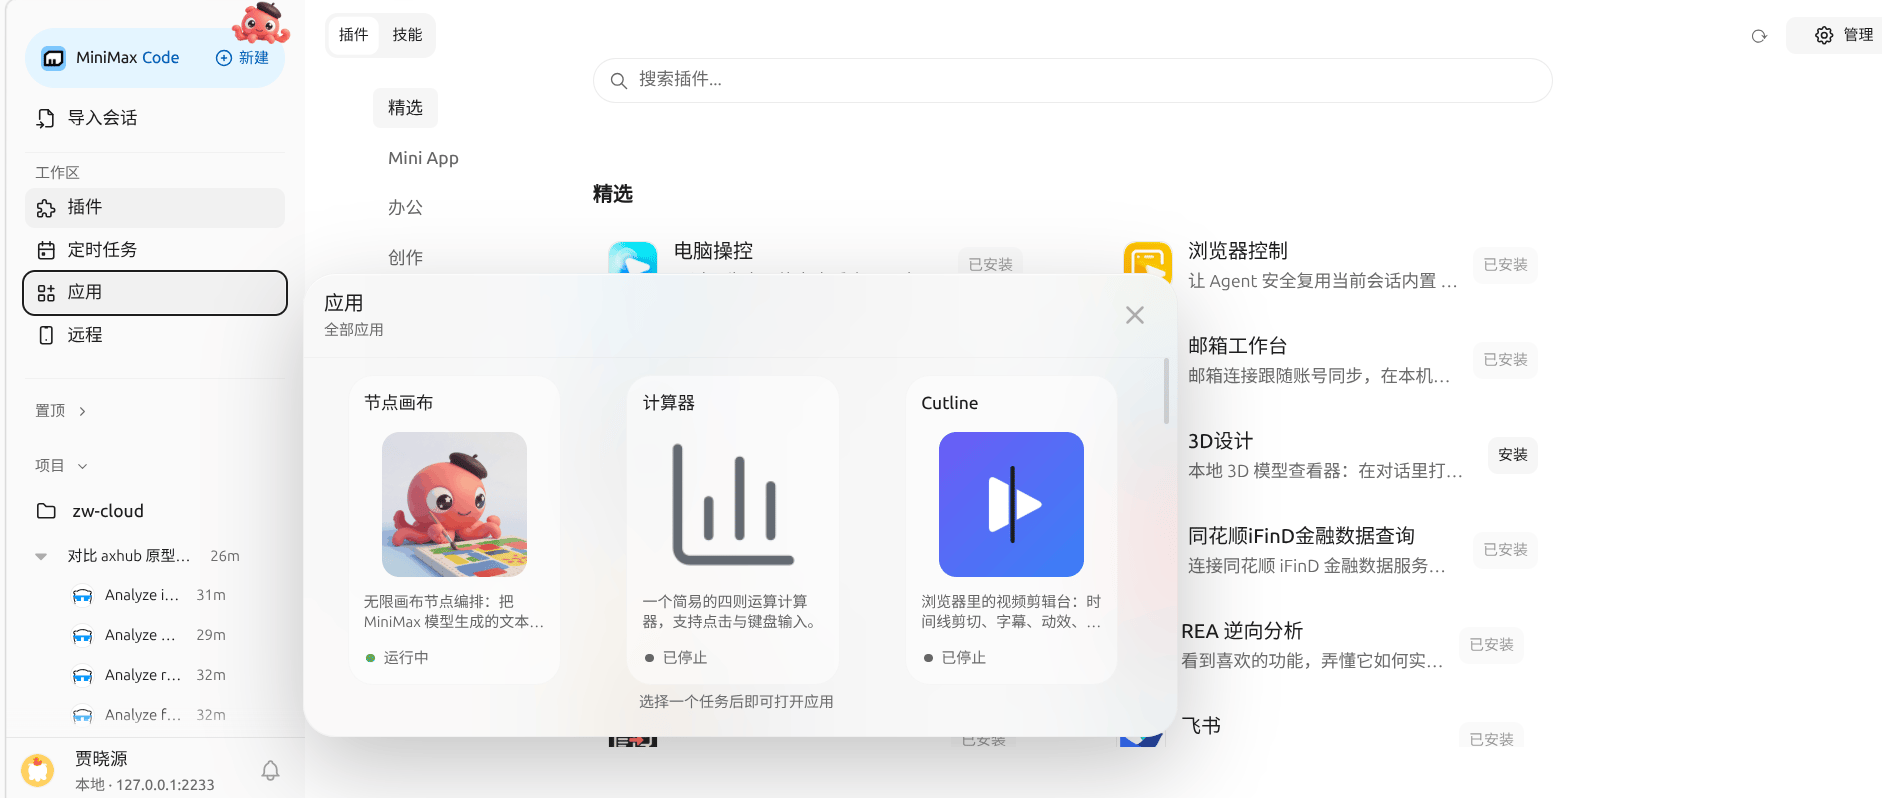
Sessions are grouped by project directory. The agent can only see a directory’s files, commands, and changes after you select it.The left sidebar has New, Import session, workspace entries (Plugins, Scheduled Tasks, Apps, Remote), Pinned, and project groups. Account and settings are at the bottom.Permissions
The permission switch is at the bottom left of the input area:When the agent needs clarification it sends a questionnaire, and when it needs permission it shows a confirmation card. You answer both right in the conversation.
Code review
There are three ways to review:- Type
/and choose thecode-reviewcommand to review the whole repository. - Click Review on a change card in a reply to see that turn’s diff.
- Open the Changes tab in the workspace panel to review all changes by file, and undo or roll back a turn.
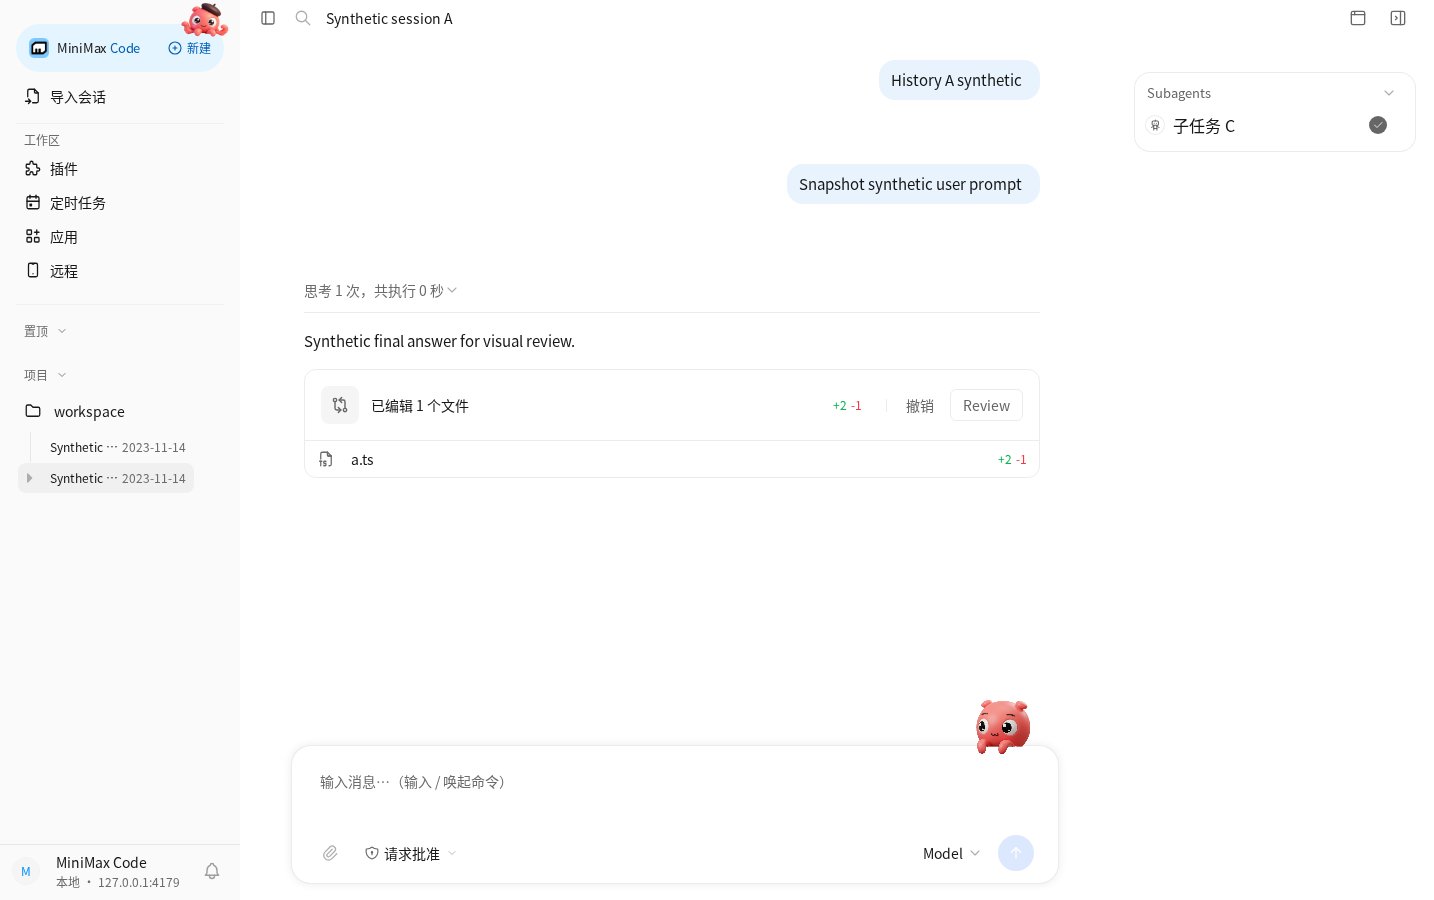
Workspace panel
The workspace panel sits to the right of the conversation as a row of tabs. Each tab is a fixed slot whose content can be replaced in place: if you open a page in a new tab and then navigate elsewhere, it stays the same tab.A new tab offers five entries (Changes, Terminal, Canvas, Apps, Files) and an address bar for typing a URL.
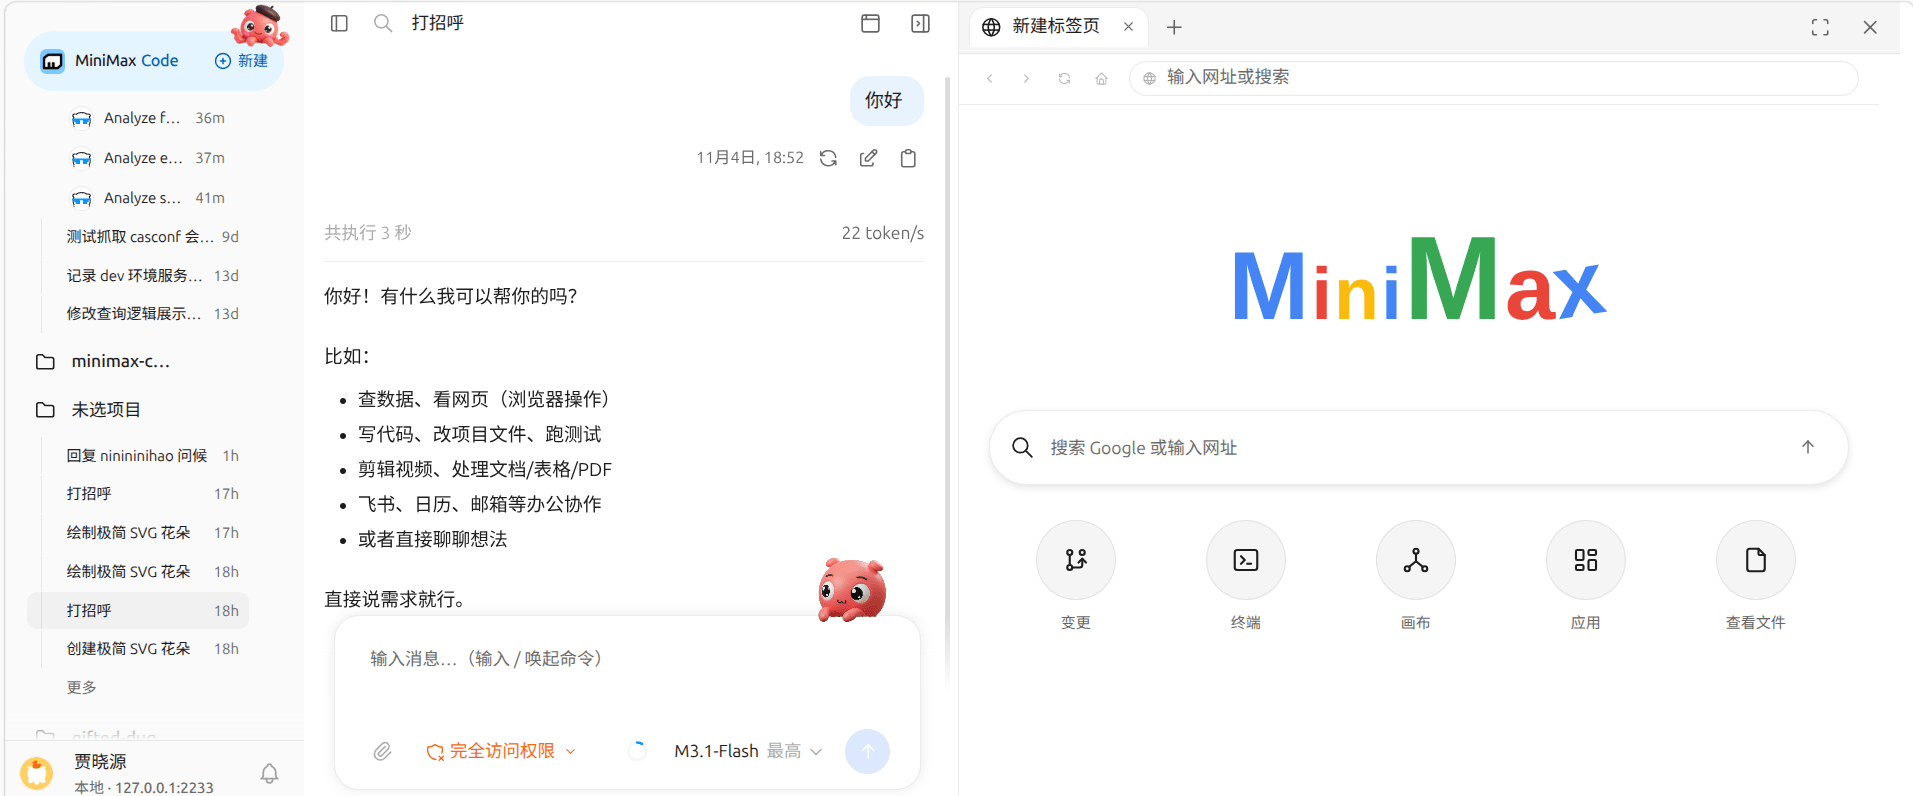
Built-in browser
Browser Use runs either in an isolated Chromium or through a paired Chrome / Edge extension. Once paired, the agent can operate real browser pages; availability depends on the selected provider and setup.Appearance and shortcuts
Settings → General → Appearance switches between light, dark, and system. The personalization page has theme settings, and the shortcuts page lets you view and rebind input shortcuts.Agent capabilities
- Goal: Use
/目标(Goal) to give the agent a verifiable end goal. It keeps going until the goal is met or it gets blocked. - Agent Team and custom agents: Team mode splits work across several agents that check each other. In plugin management you can assign an agent to run a specific plugin.
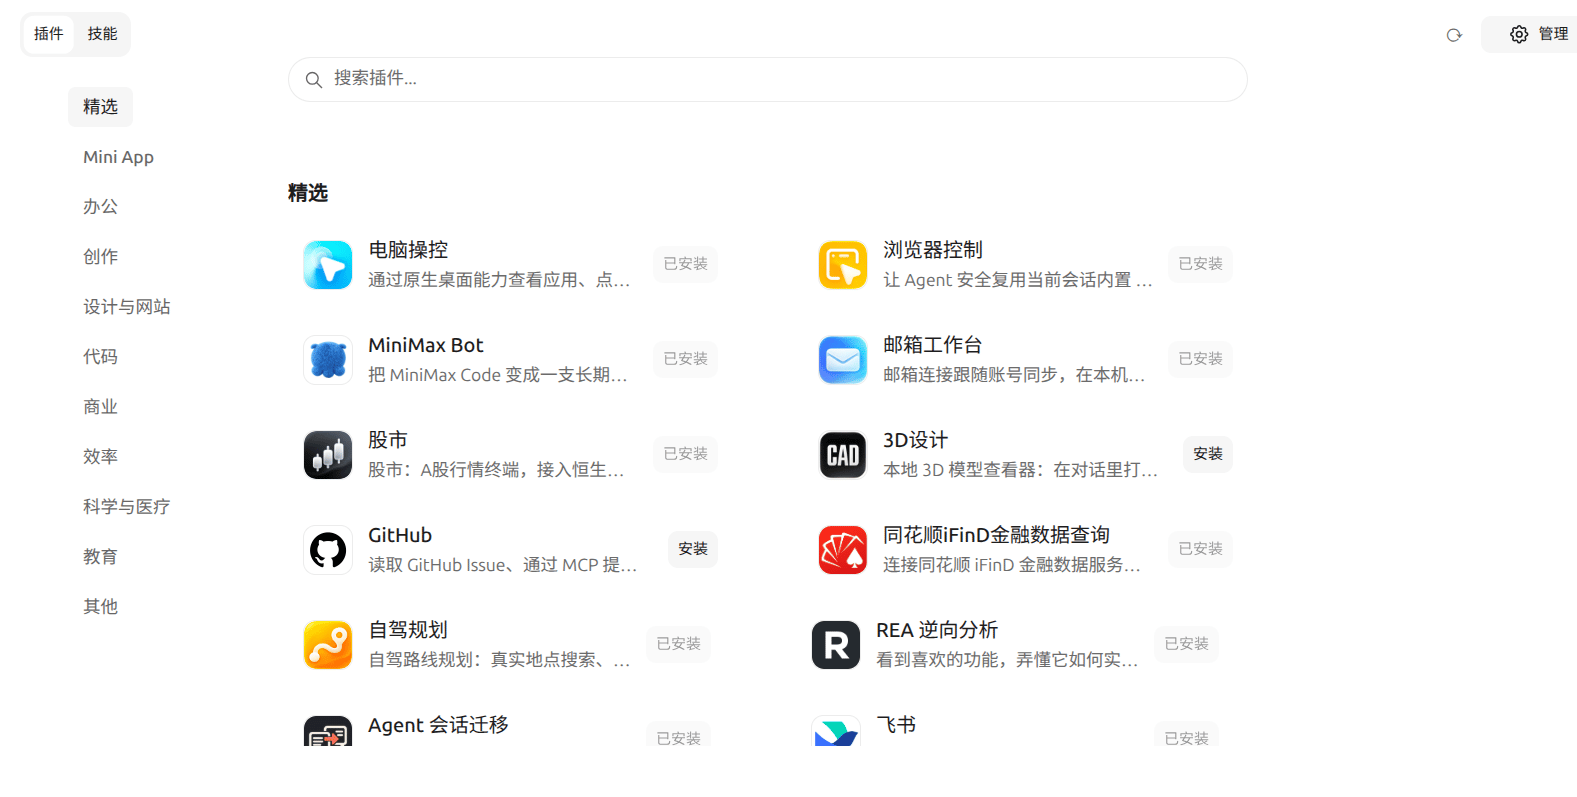
- Mini Apps: Apps lists the Mini Apps available on this machine; click one to open it in a tab on the right.
- Plugins and skills: Plugins has two tabs, Plugins and Skills. Browse plugins by category, see install status on each card, or import a plugin from a GitHub repository.
- MCP servers: Connect external tools and data sources in plugin management. Local stdio and remote HTTP transports are supported; HTTP lets you set headers, parameters, and more.
- Memory: Maintain memory and global instructions in settings. Memory keeps long-term preferences and project conventions; global instructions apply to every session.
Automation and remote
Scheduled tasks
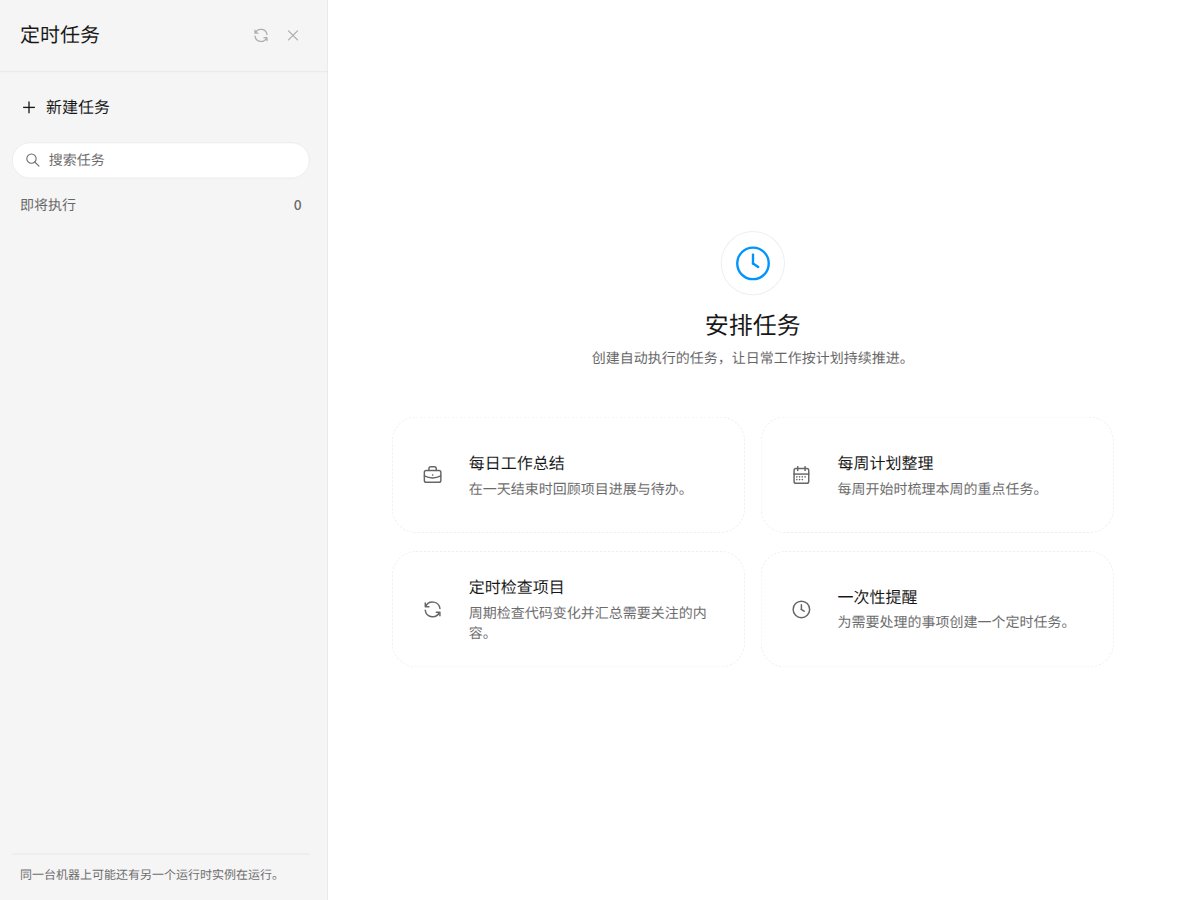
Tasks run on schedule and write results back to their session. Four templates are built in:When editing a task you set its name, request, and the agent that runs it. The list shows upcoming tasks and past runs.
Remote control and IM
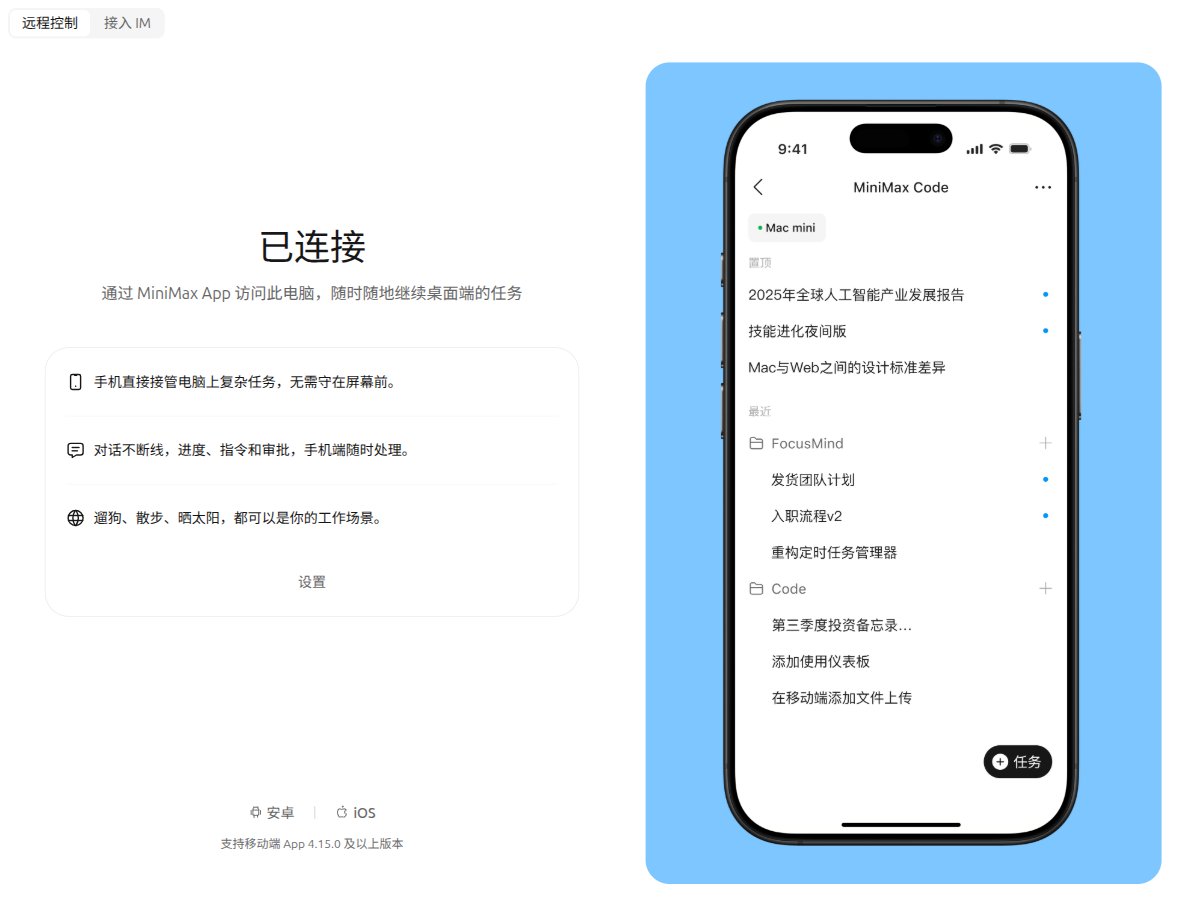
The Remote page has two tabs:- Remote control: Pair with the mobile app. The pairing code is single-use, never written to disk, and never sent back to the browser. After the service restarts it reconnects on its own, so you don’t need to pair the phone again.
- IM: Bind IM channels such as Feishu or WeChat to the local agent. You can then give tasks, see results, and approve permissions from chat. Channel status and message filter rules are managed here too.
Models and account
- Usage: Settings → Usage & Models shows quotas such as the 5-hour limit, weekly limit, and video limit, plus context window usage. The account menu has a daily check-in; consecutive check-ins earn points.
- Models: Use MiniMax account models or the official MiniMax API, or add your own provider in Settings → Usage & Models → Custom models with its endpoint and API key, then choose a model. Supported API formats include
openai-completions,openai-responses, andanthropic-messages.
Differences from the desktop app
Known limitations
- Some services are desktop-only, and WebUI hides their entries.
- The progress panel is unavailable when the window is narrower than 1080px.
- When the sidebar is collapsed, navigation items aren’t shown.
FAQ
The page keeps showing “Loading projects and sessions”?The service usually isn’t ready or the connection was refused. Check the connection indicator in the status bar at the bottom left; refreshing the page fetches a new credential.The agent says no model is available?Check the model source and credentials in Settings → Usage & Models.Can’t find a feature?Some capabilities sit behind a switch. Check authorization and enablement in Settings → Browser or on the plugin and MCP pages.Can I access it from another machine?The service binds to loopback by default. To reach it on your LAN, start it withWEBUI_HOST=0.0.0.0 (optionally WEBUI_OPEN_BROWSER=0) and open the printed LAN URL, which includes the per-launch token. For remote Mini Apps, the shared Mini App port must be reachable too. Project folders and terminals then belong to the machine running the server. Don’t expose it directly to the internet.Can it share an account with the terminal client?Yes. The data directory ~/.minimax (override with MINIMAX_DATA_DIR) shares the same login, skills, and plugins with the CLI.