

AI Node Canvas is a MiniMax Code MiniApp contributed by the community, developed and maintained by antianqi. Version 1.22.9 has been merged into the official MiniApps repository: MiniMax-AI/MiniMax-Code-MiniApps. This page describes that version. Thank you, antianqi, for contributing to the MiniMax Code community!
Screenshots on this page show the Chinese UI.
Every step is visible
The clip comes out wrong — was it the prompt, the reference image, or just how the model behaved on this step? In a chat, that usually leaves you with “try again,” and the in-between work stays invisible.AI Node Canvas lays every step on the canvas: who produced this card, what it connects to, and where it went wrong, all at a glance.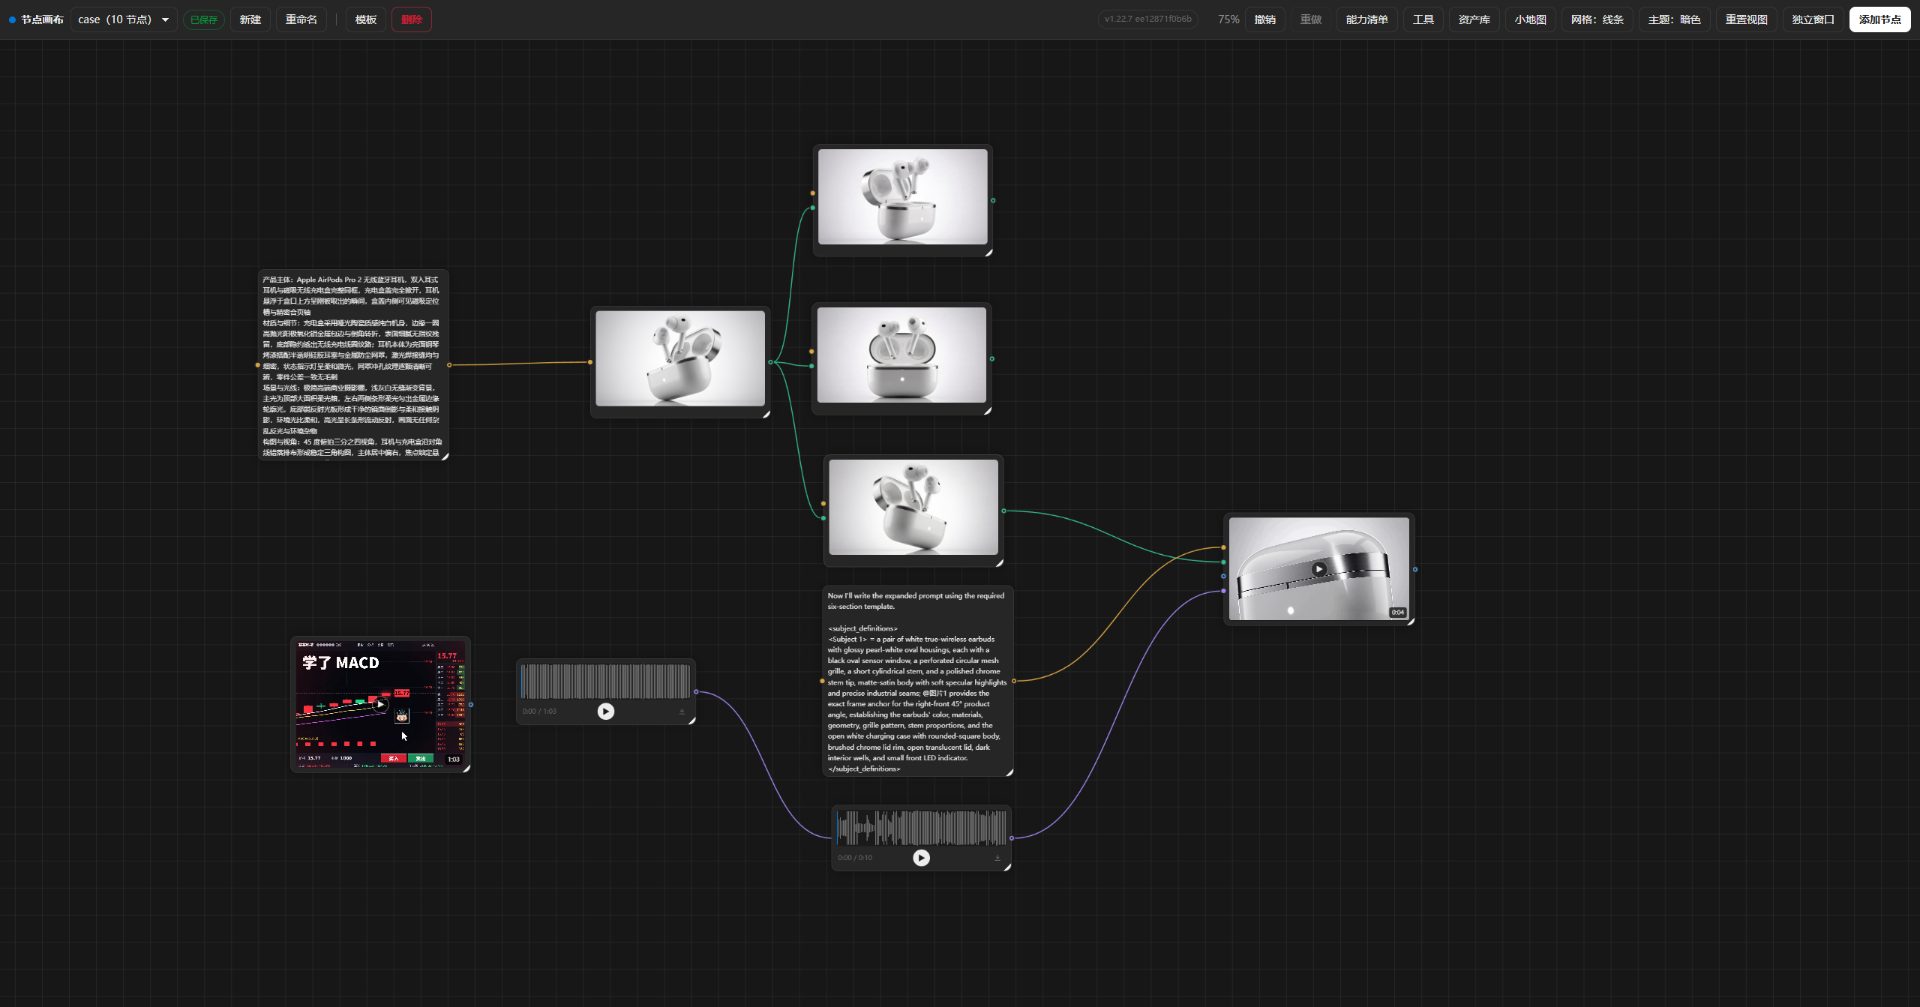
- A node is a real model run. Click to run it, and the result stays on the same card — a new card does not appear beside it.
- A line is a data path. Upstream outputs are injected into the downstream prompt as reference material, with no manual download and re-upload.
- If a run fails halfway, earlier results stay where they are. Each node’s output is the card on the canvas; you only rerun the broken path.
- Change one card, and only that path reruns. The prompt, model, aspect ratio, and reference images live on the node — you can change a parameter without starting over, and without having to reproduce the last result by hand.
Nodes and connections carry four kinds of data
A node has two dimensions: role (input / generate) and data (text / image / video / audio). An input node carries one of the four types; a generate node produces one of the four. A result node is left behind by a tool or a finished run; a group is a frame around other cards. The only data that flows along connections is text, image, video, or audio — style presets and expanded prompts are text, not separate types.The plugin does not own the models: every run goes through the host Agent, which means the MiniMax models you are already using. You do not configure an API key or store credentials, and the plugin itself does not send model requests.All generation and media live here
One app for images, another for video, prompts buried in a chat log, and a third tool for editing — assets get passed around three times, context can drop on every handoff, and when something goes wrong it is hard to tell which step lost it.All of that happens on the same canvas: write the prompt here, generate the image here, generate the video here, and edit the media here.Writing prompts: format templates fill in the rest
The node also has 4 style presets: product hero, S+ 详情, social cover, and portrait.7 workflow templates are built in: image recreation, video imitation, and H3’s five shapes. Applying a template costs nothing — you are only laying down a skeleton; running it is what costs quota.
Image generation: 4K by default, 16 reference images
Image generation is the step that runs most often on the canvas, and the image model is MiniMax-H3-Image: leave the node blank, and the output is 4K, with the aspect ratio following the prompt. Image-to-image can take 16 reference images in one request — multiple angles and camera setups of the same subject, in a single request.If you do not set an aspect ratio, the frame follows the prompt. If you want a fixed ratio, there are 6 options: 1:1 / 16:9 / 9:16 / 4:3 / 3:4 / 21:9.Available models: MiniMax-H3-Image, MiniMax-H3, MiniMax-H3-Max, MiniMax-Hailuo-2.3, Matrix speech synthesis, and Matrix music generation. Model coverage follows the M Plan: the Go tier includes image and audio models, and Explore / Build and above also include H3 video models. Image and video usage is limited only by the weekly quota and does not count against the 5-hour window — it is the same subscription, with no separate usage-based purchase.Editing media: the toolbar sits on the node
Select a node, click a tool to run it, and the result becomes a new node on the canvas. Tools are grouped by who runs them — only the third group consumes quota.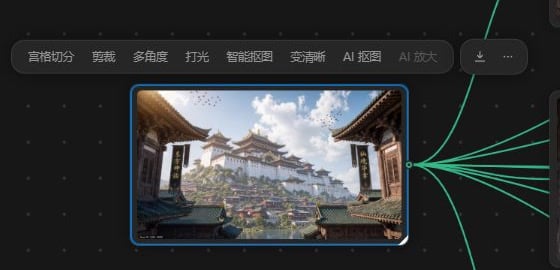
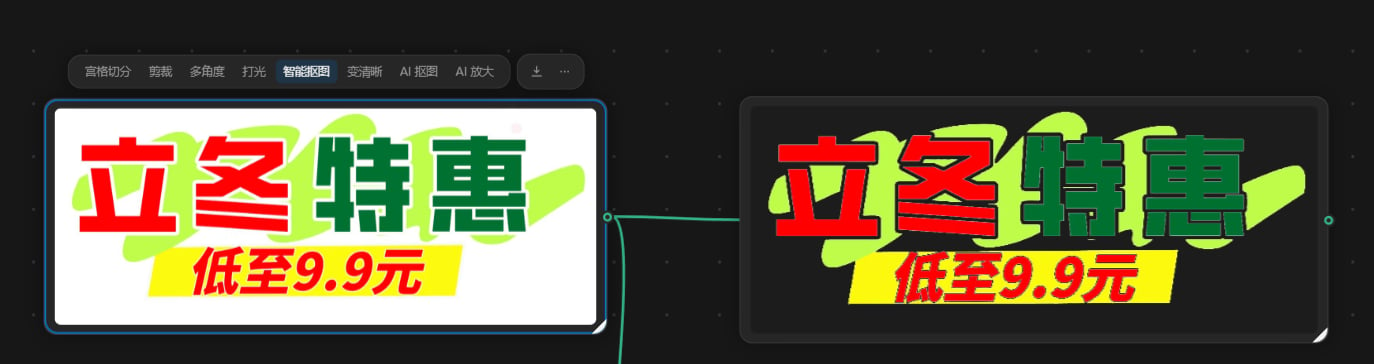
After you have the assets
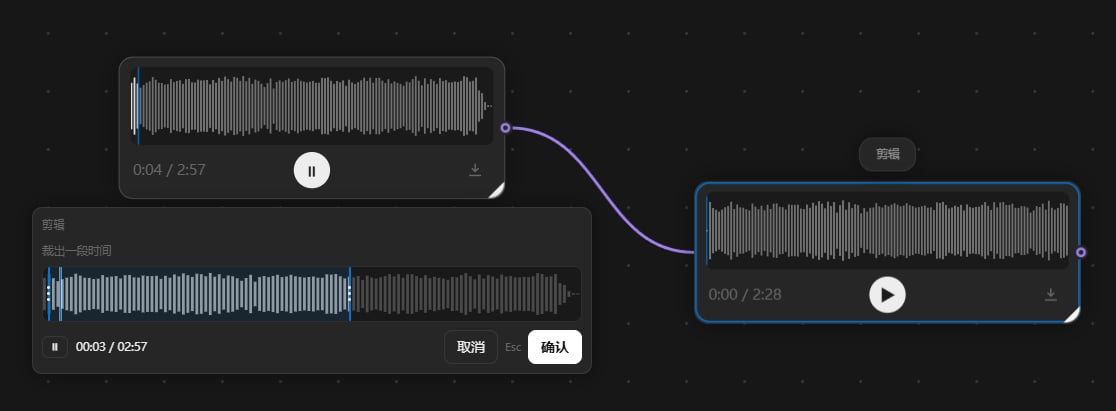
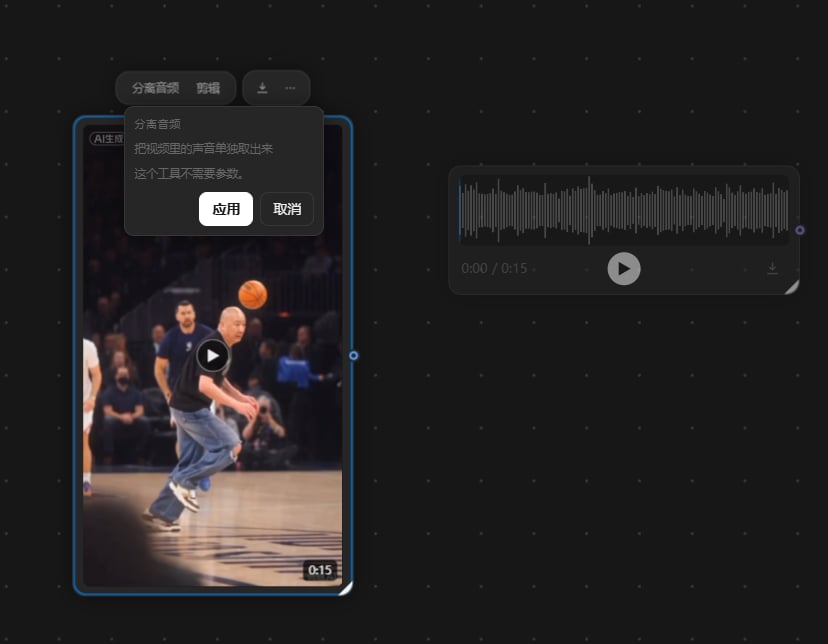
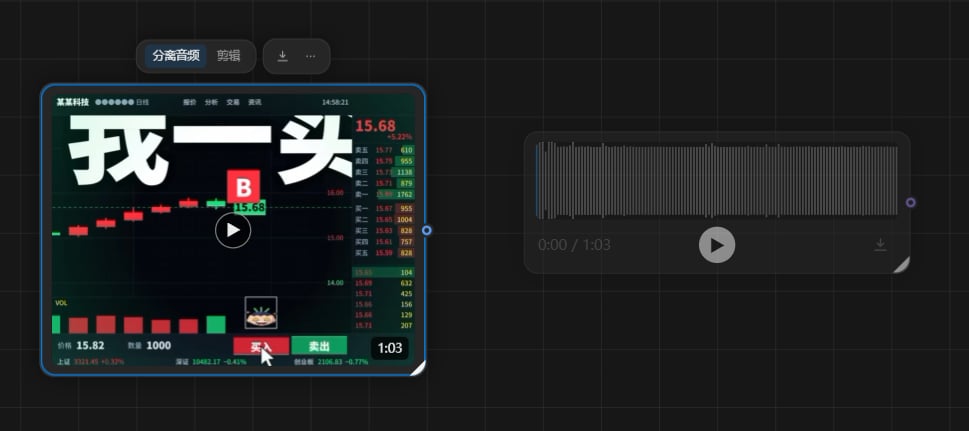
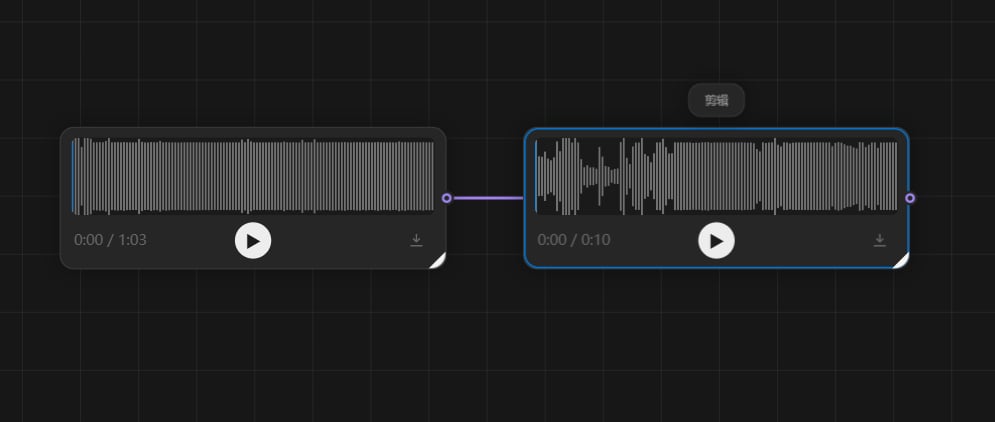
The generated images and clips are not the end. This section covers what happens after you have the assets: trim, listen, split, and cut out, all directly on the canvas, without exporting and importing again.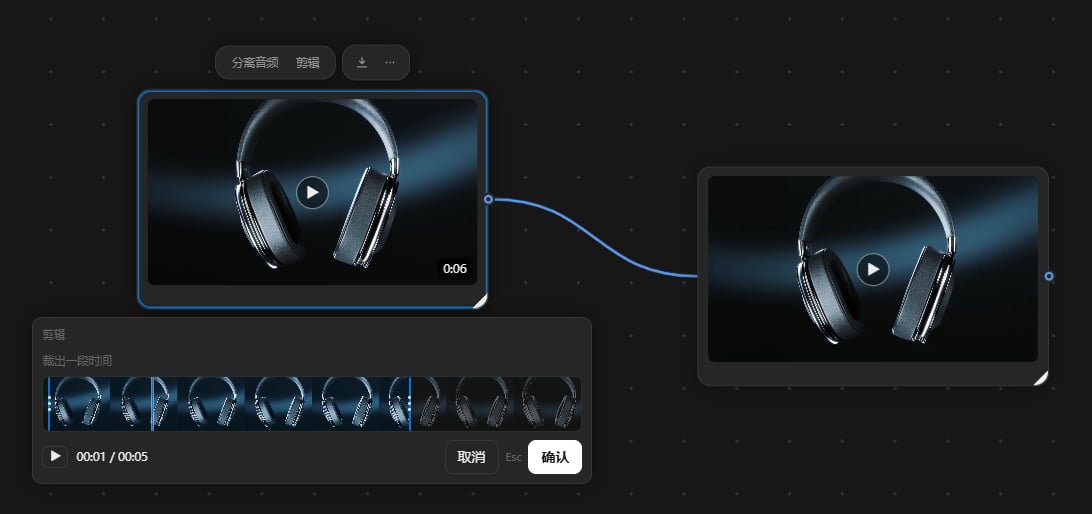
A real example: from one sentence to an earphone promo
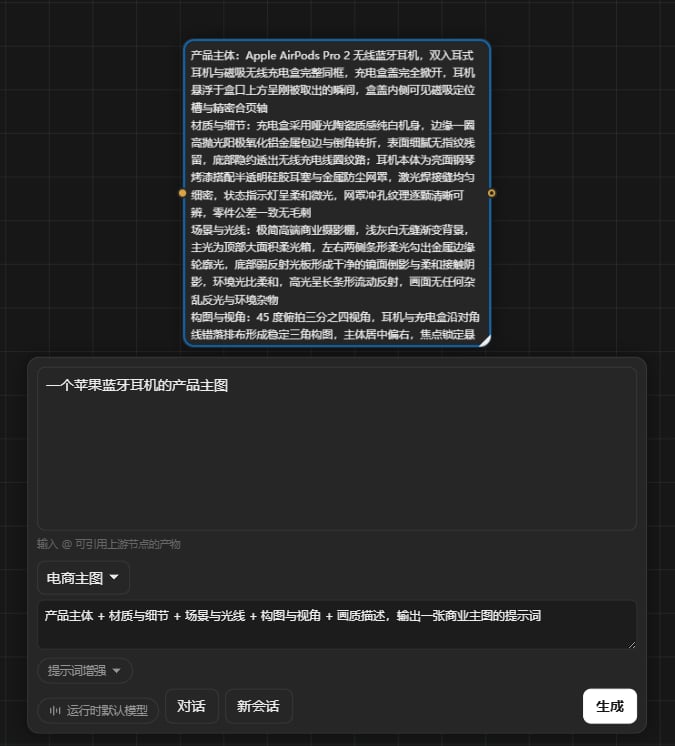
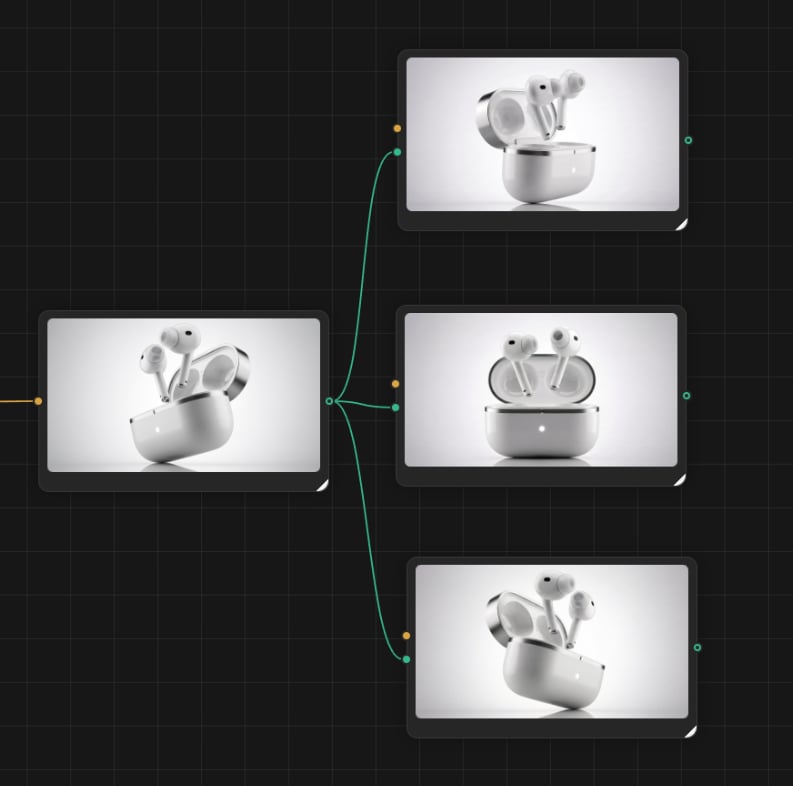
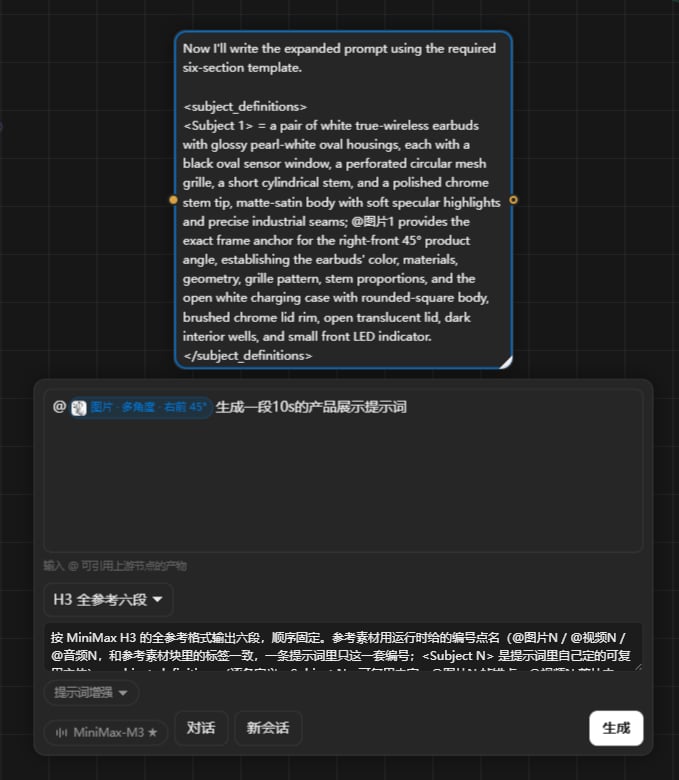
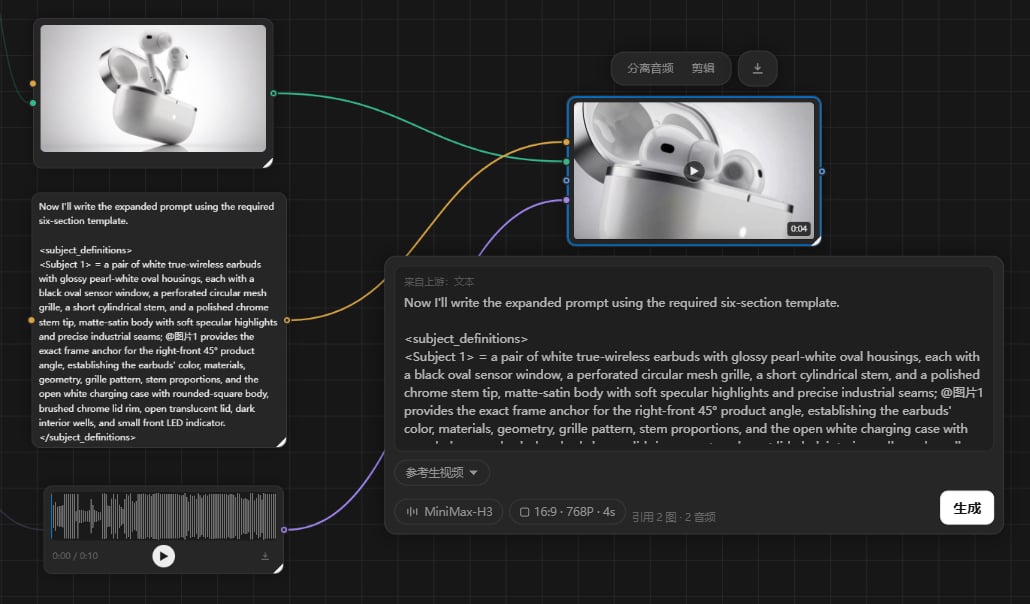
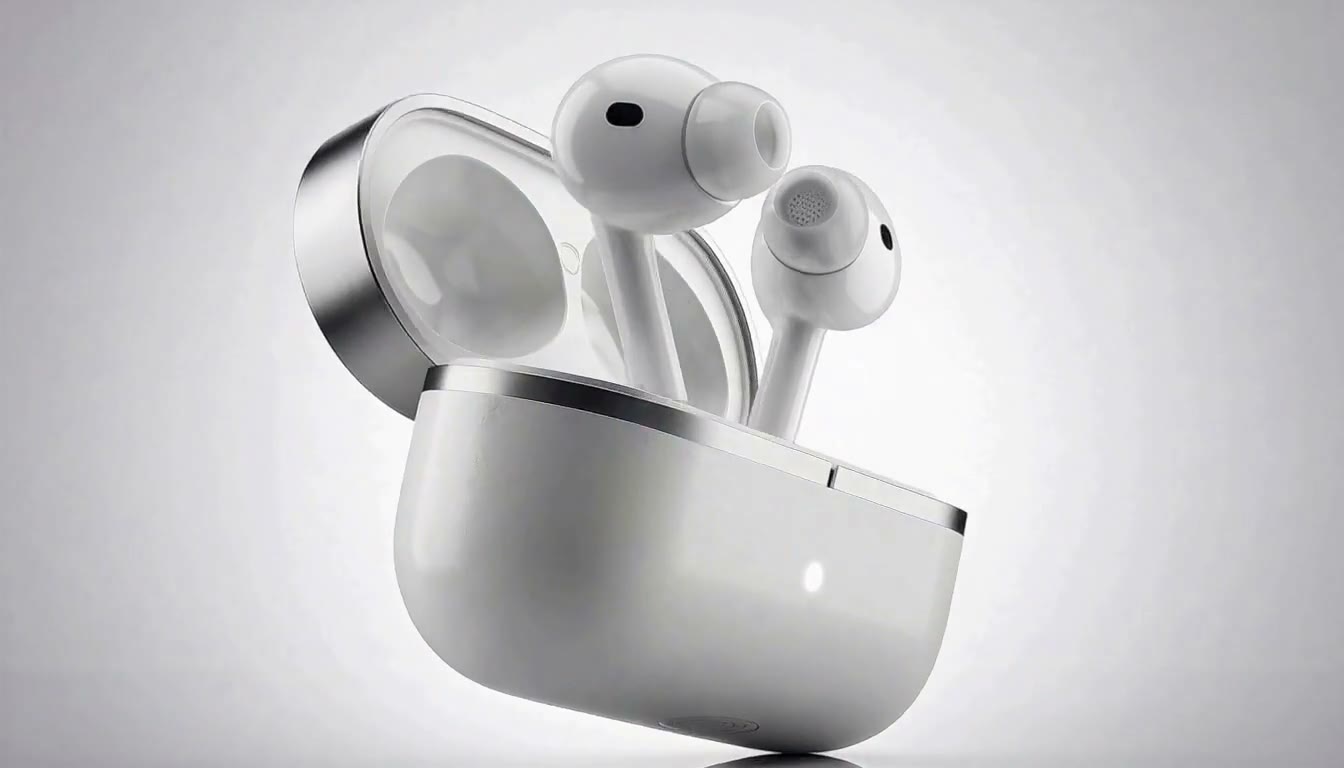
The pipeline below was actually run on a single canvas — from the rough one-liner “a product hero of an Apple Bluetooth earphone” to a roughly 4.5-second 768P final clip, with every step laid out on the canvas.01 One sentence → an 8K hero promptIn the prompt-enhance node, write “a product hero of an Apple Bluetooth earphone,” choose the “Ecommerce hero” format, and the model runs one text pass, filling in five sections: product subject / material detail / scene lighting / composition and camera / quality description.
What it’s good for
Install
From the official plugin marketplace
- In MiniMax Code plugin management, search for “节点画布” (AI Node Canvas).
- Install and enable it, then restart the client.
- Tell the Agent “打开节点画布” (“open AI Node Canvas”), or open it from the plugin list.
Install from source
- Take the
plugins/antianqi/ai-node-canvasdirectory from MiniMax-AI/MiniMax-Code-MiniApps (the main branch is currently 1.22.9). - Copy the entire
ai-node-canvasdirectory (including the hidden.minimax-pluginfolder) intoplugins/ai-node-canvas/under the MiniMax Code data directory. The default data directory is~/.minimax, so the plugin lands at~/.minimax/plugins/ai-node-canvas/. - Restart MiniMax Code, confirm the plugin is recognized and enabled, then ask the Agent to open AI Node Canvas.
First run
- Right-click on a blank canvas and add an Input node; double-click a blank area to place an image node directly.
- Choose Text, and fill it in with a category template — that text will flow to every downstream node.
- Select a node: the prompt and parameter row expand below the card, and the toolbar appears above it. Write the prompt, pick the model and parameters, and click Generate — the result lands on this card.
- Type
@in the prompt to reference an upstream node’s output. - Drag the small dot on the right side of a node onto another node to connect them.
The Agent can work on this canvas too
A MiniApp can declare its own MCP endpoints, and this canvas ships them. The host mounts them as built-in capabilities, not as an add-on script. There are 9 tools:The page always owns storage: the Agent’s changes are actions handed to the page to execute, not direct file edits. You drag a connection on the page, the Agent keeps building on the canvas, and both sides see the same document.
What costs quota
- Applying a template costs nothing; running it is what costs quota.
- Local tools (trim, extract frames, split audio, smart cutout, and so on) and in-page drawing tools (grid split, crop) do not call a model.
- Quota is consumed only when you actually start a model run, or when you use a vendor tool (multi-angle, relight, video breakdown, viral-hit analysis, AI cutout, AI upscale).
- Model coverage follows the M Plan: image and video usage is limited only by the weekly quota and does not count against the 5-hour window — it is the same subscription, with no separate usage-based purchase.
Data and access
- Connectors are used only for media generation: image, video, speech, and music, and for reading a video back.
- AI cutout and AI upscale are the vendor’s own tools, so the image is sent to the vendor for processing — only at the moment you click Apply, and not for any other reason.
- This package only reads its own page resources; it does not read any host files.
- Writes go only to the plugin’s own data directory: canvas documents in
canvases/, working files inwork/, generated results inassets/, and files you bring in inuploads/. - A copy is written to your Downloads folder only when you click Save on a node or in the asset library, and the page tells you where it landed.
Known limits
- A desktop client that supports MiniApps and Agent turns is required. Whether it can open on the web depends on the app’s own responsive layout; the desktop client is the current baseline.
- The 14 local media tools need ffmpeg and ffprobe installed on the machine. If they are missing, the buttons are disabled and the UI explains what is missing; the rest of the app still works.
- Six image tools from the reference product were intentionally left out: collage (it needs several images, not one), poster (the typography came out too rough), watermark removal (you have to draw a box first), clothing recolor (it shifts the background too), lossless resize (it needs numeric input, and crop already does the same job), and ID photo (it only fits ID photos).
- AI upscale limits are shown in the UI: long side ≤2048, short side ≥256, file size ≤10MB.
FAQ
Is this a web demo?No. It is a MiniMax Code MiniApp plugin: it ships its own client UI, a hosted runtime, and model connectors. Once installed, it is a native app inside mcode, not an add-on script, and not something that asks the Agent to guess where your files are.Does a run cost quota?Applying a template costs nothing; running it is what costs quota. Local tools and in-page drawing tools do not call a model; quota is consumed only when you actually start a model run or use a vendor tool.Can the Agent corrupt my canvas?The page always owns storage. The Agent’s changes are actions handed to the page to execute, not direct file edits.Does it work on a phone?AI Node Canvas is a desktop MiniApp. Whether it can open on the web depends on the app’s own responsive layout and required capabilities; the desktop client is the current baseline.Where are my data and files?Canvas documents, assets, and generated results are written in the plugin’s own data directory, and nowhere outside the host data directory. A copy is written to Downloads only when you click Save / Save to local.Can the same node run twice at once?No. A single node cannot run two jobs at the same time, but different nodes can run in parallel — multiple runs can be in flight, each with its own progress log, and each can be cancelled.If a run fails halfway, do earlier results disappear?No. Each node’s output is the card on the canvas. You only rerun the broken path, and earlier results stay where they are.Quick reference
Questions and suggestions are welcome in the repository’s Issues.